Stop Weeds in Rock Landscaping (So You Can BBQ in Peace)
Weeds are relentless. They don’t care how clean or low-maintenance your yard is supposed to be.
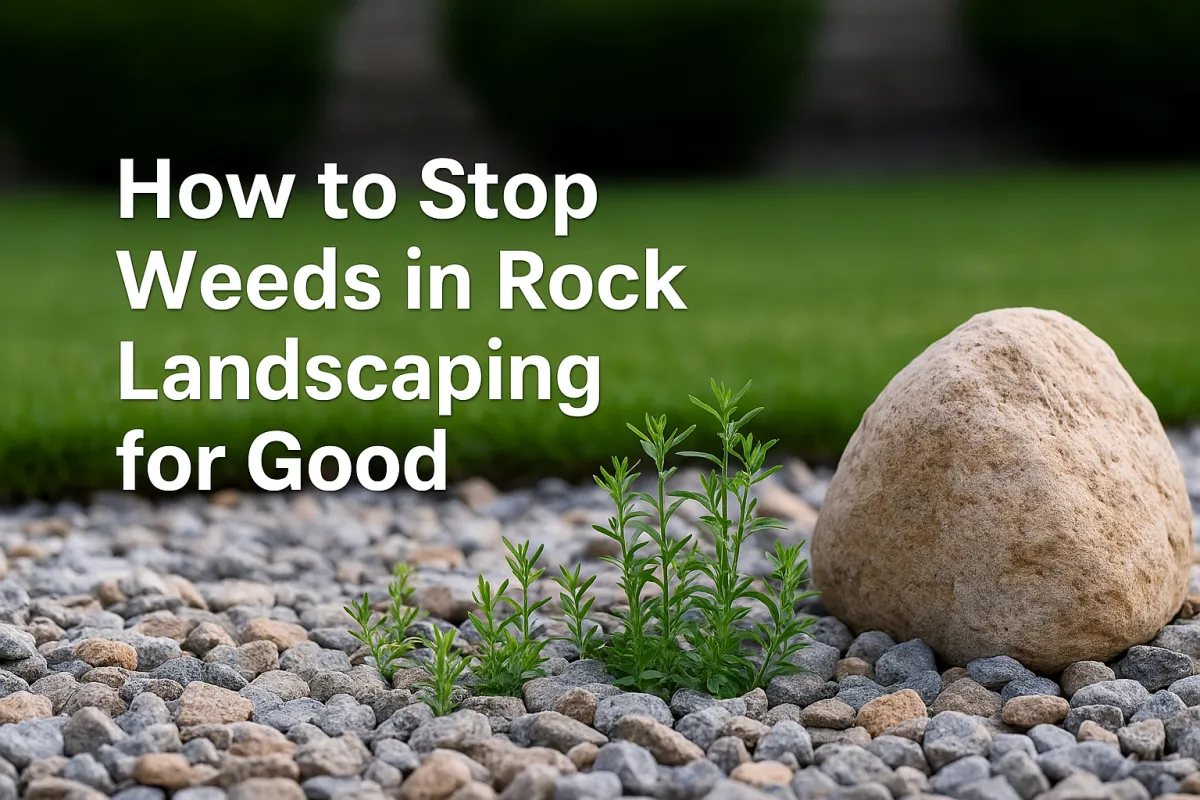
You spent good money on that rock landscaping, clean lines, no grass to mow, no mess. But now? It’s turning into a weed nursery. And if you're in the Inland Empire, especially around Moreno Valley, those seeds don’t wait long to make their move.
Here’s the deal: one square foot of soil can hold over 1,300 dormant weed seeds just waiting for the right conditions to sprout. (Yeah, we said thirteen hundred.) Once they get going, you’re stuck in a cycle of pulling, spraying, and wasting Saturdays you didn’t sign up for.
That’s where we come in. I’m going to walk you through what actually works, no fluff, no one-size-fits-all nonsense. Whether you’re starting from scratch or trying to reclaim an overgrown mess, we’ll cover the tools, techniques, and timing you need to stop weeds before they take over.
Let’s dig in and fix this. For good.
1. What Is the Best Way to Prevent Weeds in Rock Landscaping?
The best way to stop weeds in rock landscaping is to layer your defense: install a proper weed barrier, apply pre-emergent herbicides, and stay on top of maintenance.
2. Use Landscape Fabric the Right Way
Is landscape fabric effective under rocks?
Yes, when installed properly, landscape fabric can be one of the most effective tools to prevent weeds in your rock landscaping. It serves as a physical barrier between the soil (where weeds grow) and the sunlight (which they need to sprout), drastically reducing weed growth and minimizing maintenance.
But here's the catch: if it’s done halfway, or with the wrong materials, it won’t last. We see it all the time, cheap fabric that tears, rocks that shift, or installations that didn’t block out light. That’s why Houston’s Landscaping follows a battle-tested method that keeps your rock beds clean for the long haul.
Here’s how to install landscape fabric the right way:
✅ 1. Clear the Area Thoroughly
Start by removing all existing weeds, roots, grass, and debris. You don’t want to trap living weeds or seeds under the fabric, or they’ll eventually poke through.
Use a garden hoe or spade to dig up roots
Dispose of weeds, don’t compost them
For heavily infested areas, consider applying a non-selective herbicide a week before installation
Tip: Wet the area beforehand for easier root removal.
✅ 2. Level and Compact the Soil
Grading is critical. If the surface underneath isn’t level and compacted, rocks will shift and tear the fabric over time.
Rake the soil to smooth out bumps and divots
Slightly slope the bed away from foundations for drainage
Compact the soil with a hand tamper or roller to create a stable base
This prevents sagging and ensures the fabric stays tight over time.
✅ 3. Install Commercial-Grade Landscape Fabric
This is not the place to go cheap. Hardware store rolls often rip, degrade under UV exposure, or allow sunlight through after a few months. At Houston’s Landscaping, we use heavy-duty woven geotextile fabric built to last years, even under Moreno Valley’s harsh sun.
Cut pieces to fit the space, leaving extra room around the edges
Overlap seams by at least 6 inches to prevent gaps
Secure with landscape staples or pins every 12–18 inches along edges and seams
Avoid stretching the fabric too tight, it should lie flat without buckling.
✅ 4. Add 2–4 Inches of Decorative Rock or Gravel
Once your fabric is in place, cover it with a generous layer of rocks. This serves two purposes:
Blocks sunlight from reaching the soil or fabric seams
Weighs down the fabric, preventing it from shifting in wind or rain
Choose a rock size that suits your landscape design (¾" to 1½" is ideal) and spread it evenly using a rake. Avoid sharp-edged stones that can cut into the barrier.
🟩 Pro Tip:
Avoid using black plastic or low-grade weed barrier fabric. These materials break down under sun exposure, trap moisture (which encourages rot and mold), and eventually let weeds break through. Commercial-grade fabric with proper rock coverage gives you the longest-lasting results with the least maintenance.
3. Apply Pre-Emergent Herbicide (Before Weeds Appear)
What is pre-emergent weed control for rocks?
Pre-emergents stop weed seeds from sprouting. They don’t kill existing weeds, but they drastically reduce future growth.
Apply in early spring and late fall
Use products like Prodiamine or Preen Extended Control
Water it in to activate the formula
✅ Perfect for areas like Moreno Valley, where seasonal weed cycles hit hard.
4. Natural Methods That Work
Want to avoid harsh chemicals in your yard? You’re not alone. Many homeowners across Moreno Valley and the Inland Empire are turning to natural weed control methods that are safe, effective, and affordable. These DIY approaches can help you stay ahead of weeds, without relying on synthetic herbicides.
Can I Use Vinegar to Kill Weeds in My Rock Garden?
Yes, vinegar is one of the most popular natural weed killers, especially for surface-level growth.
Household vinegar (5% acidity) can scorch weed leaves but may not kill the roots.
Horticultural vinegar (20% acidity) delivers a stronger punch and better long-term results.
DIY Vinegar Weed Killer Recipe:
1 gallon white vinegar
1 cup table salt
1 tablespoon dish soap
Mix it all in a pump sprayer and apply directly to weed leaves on a hot, sunny day. The vinegar and salt dry out the plant, while the soap helps it stick. Avoid spraying near your other plants, this mix is non-selective and will damage anything it touches.
Using Salt as a Weed Killer
Salt works by drawing moisture out of plants, drying them up from the inside out. It also prevents future growth by making the soil less habitable. But there’s a catch: too much salt can ruin your soil long-term, so it’s best for hardscaped or decorative areas only.
How to Apply Salt Safely:
Mix 1 part salt to 3 parts water
Pour directly onto unwanted weeds, only where you never want anything to grow again (like cracks, gravel edges, or between pavers)
⚠️ Caution: Avoid using near trees, flowers, or turf areas. Salt can leach into surrounding soil and affect healthy plants.
Boiling Water: The Easiest Fix
Sometimes the simplest method is the most effective. Boiling water is great for spot-treating small patches or young weeds in tight spaces.
Instructions:
Boil water in a kettle
Carefully pour it over the crown of each weed
This kills the plant by cooking it from the inside out. It’s eco-friendly, leaves no residue, and works especially well in cracks, gravel seams, and between stepping stones.
5. Manual Removal: Still the Most Reliable
Even with every barrier, spray, or trick in the book, some weeds will still sneak in. That’s where good old-fashioned manual removal comes in, and it’s still one of the most effective solutions for isolated or persistent weeds.
Best Practices for Pulling Weeds
Weed after watering or rain: Moist soil makes it easier to pull the entire root out, not just the top.
Use proper tools: A flathead screwdriver, hori-hori knife, or handheld weeder can get underneath stubborn roots with precision.
Get the whole root: If any part of the root system remains, the weed can regrow, sometimes even stronger than before.
Dispose properly: Don’t compost the weeds, especially if they’ve gone to seed. Bag them and toss them in the trash to prevent reseeding.
💡 Maintenance Tip: Don’t wait for weeds to multiply. Pulling one weed today prevents 50 tomorrow. Stay ahead by walking your yard weekly and addressing problem spots early.
6. Long-Term Maintenance Plan
How often should I treat my rock beds for weeds?
Preventive maintenance every season can save you hours of frustration:
Spring: Apply pre-emergent, check for early growth
Summer: Spot treat with vinegar or boiling water
Fall: Reapply pre-emergent before winter
Winter: Rake debris and remove any visible weeds
7. Add a Second Line of Defense with Mulch or Ground Cover
Even with a solid weed barrier and a thick layer of rock, sunlight can sometimes sneak through, especially as rocks shift over time or settle into the soil. That’s why adding a secondary layer of protection is one of the smartest moves you can make to keep weeds out long term.
Mulch + Rock Combo
Adding a thin layer of natural mulch on top of your rock landscaping does more than just look nice, it significantly boosts weed control and helps protect your landscape investment.
Here’s why it works:
Cedar mulch has natural weed-repelling properties and breaks down slowly in the Inland Empire heat.
It shields your weed barrier from UV rays, which can degrade fabric over time.
It also retains moisture, which benefits any surrounding plants and reduces erosion.
🟫 Best practice: Spread a 1–2 inch layer of mulch over the rocks, thick enough to provide coverage, but thin enough to avoid smothering the look of your decorative stone.
Low-Growing Ground Covers
Rather than fighting weeds every season, outcompete them by planting ground cover species that thrive in rock beds and harsh California climates.
Here are three of our go-to picks for homeowners in Moreno Valley:
Dymondia (Dymondia margaretae): A silver-green, drought-tolerant ground cover perfect for full sun. It grows low, forms a dense mat, and chokes out unwanted weeds.
Sedum: A hardy succulent that stores water, survives poor soil, and spreads without becoming invasive. Comes in a variety of colors and textures.
Creeping Thyme: A fragrant, fast-growing ground cover that fills gaps and adds beautiful color. Plus, it attracts pollinators like bees and butterflies.
These “living mulches” not only suppress weeds but add color, softness, and visual interest to otherwise plain rock beds. And once they’re established? Virtually no maintenance.
8. Address Drainage and Soil Compaction
Weeds don’t just thrive in sunlight, they love moisture, especially in poorly drained or compacted soil. If your rock beds collect water after rain or irrigation, you’re unknowingly creating an ideal environment for weed seeds to sprout and thrive.
How Poor Drainage Leads to Weeds (and Bigger Issues)
Standing water weakens landscape fabric over time
Damp areas encourage moss, algae, and mold
Waterlogged zones attract more wind-blown seeds, increasing weed density
Fix It with These Drainage Solutions
Proper Grading: Make sure the slope of your yard or bed moves water away from your foundation and toward drains or natural runoffs.
Install a Perforated Pipe (French Drain): Place it beneath your landscape fabric to allow excess water to drain away, while keeping soil dry and compact.
Avoid Soil Compaction: When soil is too hard, it damages weed fabric and allows pooling. Before laying any barrier, till or loosen the soil and remove large clumps or rocks.
👉 Pro Tip: If you notice puddling or soft spots after rainfall, don’t wait. Houston’s Landscaping can inspect, diagnose, and repair drainage issues before they turn into full-blown weed problems, or worse, damage to your property’s foundation.
9. Professional Weed Control vs. DIY
When should you hire a pro?
Large, established weed infestations
Multiple layers of rock without fabric underneath
Ongoing weed issues even after DIY attempts
Houston’s Landscaping offers full-service rock bed renovation:
✔ Weed removal
✔ Barrier replacement
✔ Rock replenishment
✔ Ongoing seasonal care
Weeds in rock landscaping might seem unbeatable, but the truth is, when you layer your approach, you win the battle. With the right barrier, seasonal upkeep, and a few pro-grade methods, you can enjoy a clean, weed-free yard without constant effort.
Need help taking back control of your landscape? Houston’s Landscaping is Moreno Valley’s go-to for rock bed weed control, artificial turf, curbing, and more.
(833) 467-2381
